
7-Step Framework for Choosing the Right Backdrop for Your Studio
Selecting the right studio backdrop influences the mood, professionalism, and outcome of every session. Photographers need practical guidance when picking between backdrops photography options, especially with so many styles and materials available.
No matter your experience, making the right choice ensures consistency in every backdrop photoshoot.
Staying committed to the structured approach ensures that the backdrop photo studio setup becomes more efficient and creative.
With all of this in mind, let us talk about a framework that will help you find the best possible backdrop for your studio.
| Step | Title | Description |
| 1 | Define the Purpose of Your Photoshoot | Choosing a studio backdrop that aligns with your creative goals |
| 2 | Know Material Options and Their Characteristics | Understanding what each backdrop material offers |
| 3 | Choose the Right Size Based on Studio and Subject | Finding the proper backdrop size for every session type |
| 4 | Match Backdrop Style with Photography Goals | Using design, color, and texture to enhance the image |
| 5 | Evaluate Mounting and Setup Requirements | Building a functional and stable backdrop photo studio setup |
| 6 | Prioritize Durability and Maintenance | Keeping your backdrops photography-ready over time |
| 7 | Balance Budget with Professional Value | Making smart investments in studio backdrop gear |
Step #1: Define the Purpose of Your Photoshoot
Every successful studio backdrop choice begins with clarity about the purpose of the shoot. Without a specific focus, selecting the right background becomes guesswork.
Ask the most critical question: What kind of photo session are you setting up?
A backdrop photoshoot meant for formal business headshots demands an entirely different approach compared to a vibrant lifestyle campaign.
If you’re planning a portrait backdrop session, think soft tones, pastels, or seamless grays that place full focus on facial features.
For product photography, you’ll likely benefit from a clean and controlled visual field, where the item becomes the main subject and the studio backdrop quietly supports it.

On the other hand, editorial shoots or seasonal backdrops photography often rely on bold tones or thematic visuals. Lifestyle brands might need printed scenes that reflect daily use scenarios, cozy interiors, or urban textures.
In those cases, going with a bold, textured, or even custom-printed backdrop photo studio design can emphasize emotion and context.
When planning, consider announcing your shoot intent by categorizing your needs. Common shoot types include:
| Category | Description |
|---|---|
| Portrait | Headshots, graduation, actor/model portfolios |
| Product | Clean background to highlight shape, color, or details |
| Editorial | Creative setups, storytelling, or mood-driven scenes |
| Lifestyle | Home-inspired, casual, natural-looking environments |
| Green Screen | For digital background replacement in video or commercial work |
| Event | Portable, themed, or branded for photo booths or mobile setups |
For corporate or commercial work, clients may expect alignment with their branding, fonts, color palette, or tone of communication. Opt for a studio backdrop that doesn’t just look good but also reflects the client’s identity.
Bold colors bring energy, movement, and emotion into the frame. Use them for dramatic portraits, fashion spreads, or to highlight contrast with neutral subjects.
Neutral colors, in contrast, help create a refined, timeless, and distraction-free frame.
Custom prints are powerful when the shoot is brand-driven. A custom backdrop photoshoot design aligned with a brand’s message, such as slogans, icons, or thematic imagery, reinforces identity in every shot.
Step #2: Know Material Options and Their Characteristics
Material affects workflow, maintenance, and the overall professionalism of your studio backdrop sessions. Every material serves a purpose and comes with specific strengths or trade-offs.
Knowing these traits ahead of time helps you avoid wasted investment and session frustration.
Start with seamless paper. It’s the go-to choice for clean, professional visuals, especially in portrait backdrop or product settings. It creates a smooth field with no folds or texture interference. However, it has limited durability and must be handled with care, particularly near the floor area. Spills or scuffs mean cutting and replacing.
Muslin fabric is lightweight, easy to fold, and introduces a subtle texture. It gives your backdrops photography a soft, artistic feel that works well in casual sessions, lifestyle portraits, or experimental lighting.
Microfiber blends detail and convenience. It supports high-resolution printed designs, making it ideal for scenic or patterned studio backdrop needs. It’s wrinkle-resistant and machine washable, which means you spend more time shooting and less fixing folds.
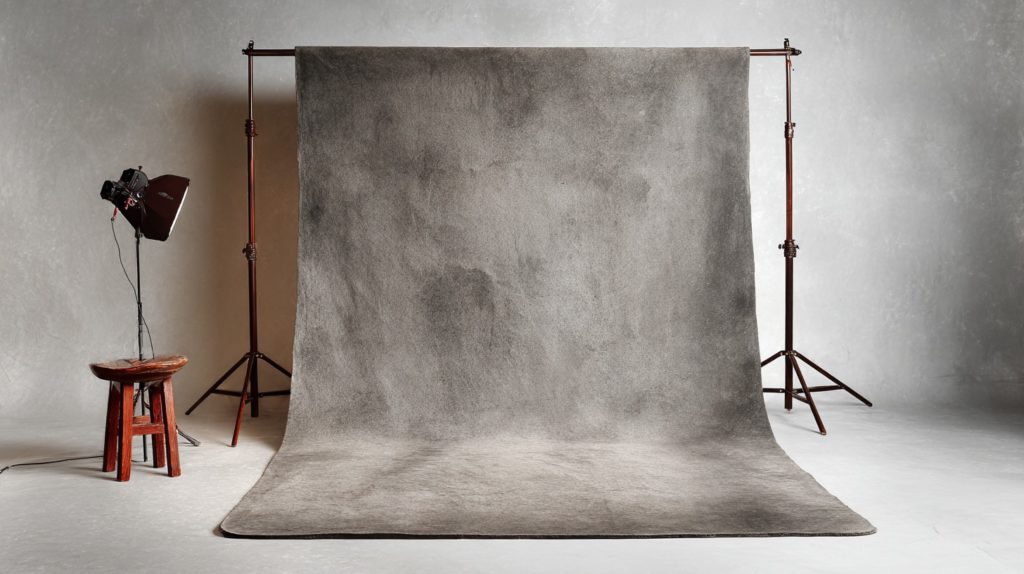
Canvas stands at the higher end of professional setups. It’s known for dramatic hand-painted textures, perfect for timeless, classic backdrop photoshoot results. Though not washable, its visual impact justifies the effort of careful storage and transport.
Some setups require floor coverage as well. In such cases, pair backdrops with rubber floor mats.
To help distinguish the best option, evaluate based on these key usage needs:
- Seamless Paper: Clean, disposable, non-washable
- Muslin: Lightweight, versatile, machine washable
- Vinyl: Wipe-clean, durable, non-foldable
- Microfiber: Washable, portable, detailed printing
- Canvas: Textured, hand-painted, best for timeless looks
Step #3: Choose the Right Size Based on Studio and Subject
Size defines creative flexibility, camera framing, and post-production ease. Selecting the right studio backdrop dimensions prevents:
- Awkward cropping
- Wasted material
- Blocked lighting
First, assess your physical space. Ceiling height should ideally be around 10 to 12 feet to accommodate light stands, props, and vertical movement.
Measure the wall width and available depth too. These numbers directly influence backdrop size decisions.
Avoid tight setups that restrict movement or result in unintentional shadows. Make room for subjects and support gear without crowding the composition.
Backdrop size must align with the subject type. Below are general recommendations that should guide most setups:
- 5–7 feet wide: Ideal for headshots, single subjects, kids, or seated portraits
- 8–10 feet wide: Best for couples, standing portraits, or moderate movement
- 10–12 feet or more: Designed for group photos, large props, or wide editorial scenes
Full-body or floor-integrated backdrop photoshoot sessions need added length, especially if you’re creating a sweep. Sweeps involve rolling out extra material along the floor for seamless transitions between background and ground.
Plan for this during setup so your subject doesn’t look like they’re floating.
A mistake photographers often make is underestimating size. A backdrop that’s too small limits framing options and introduces more work during editing.
Instead of extending backgrounds digitally, start with generous coverage and crop as needed.
Choose based on these criteria:
- Studio dimensions
- Subject group size
- Framing needs (tight, full-length, or wide-angle)
- Use of floor area or vertical props
A well-sized studio backdrop creates confidence during shooting and saves time in post-production. Measure twice, shoot once.
Step #4: Match Backdrop Style with Photography Goals
Visual style transforms a session from functional to exceptional. The design of your studio backdrop must reflect the mood, purpose, and intent of the shoot.
Each backdrop surface, shade, and texture either supports or weakens your composition. Think of it as a silent collaborator in every frame.
Solid color backgrounds deliver clean, distraction-free results. These are essential for business portraits, corporate headshots, or official documentation. They support consistent lighting and simplified post-production. When working with a portrait backdrop, solid shades help subjects stand out with clarity and intent.
View this post on Instagram
Clean backgrounds are also preferred in commercial work where the subject, product or person, must remain the sole focus.
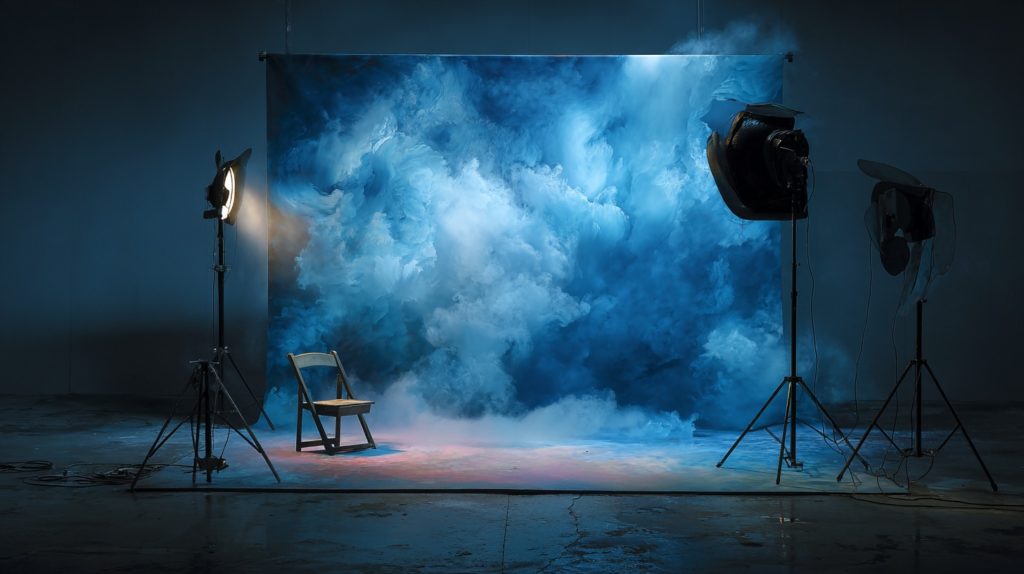
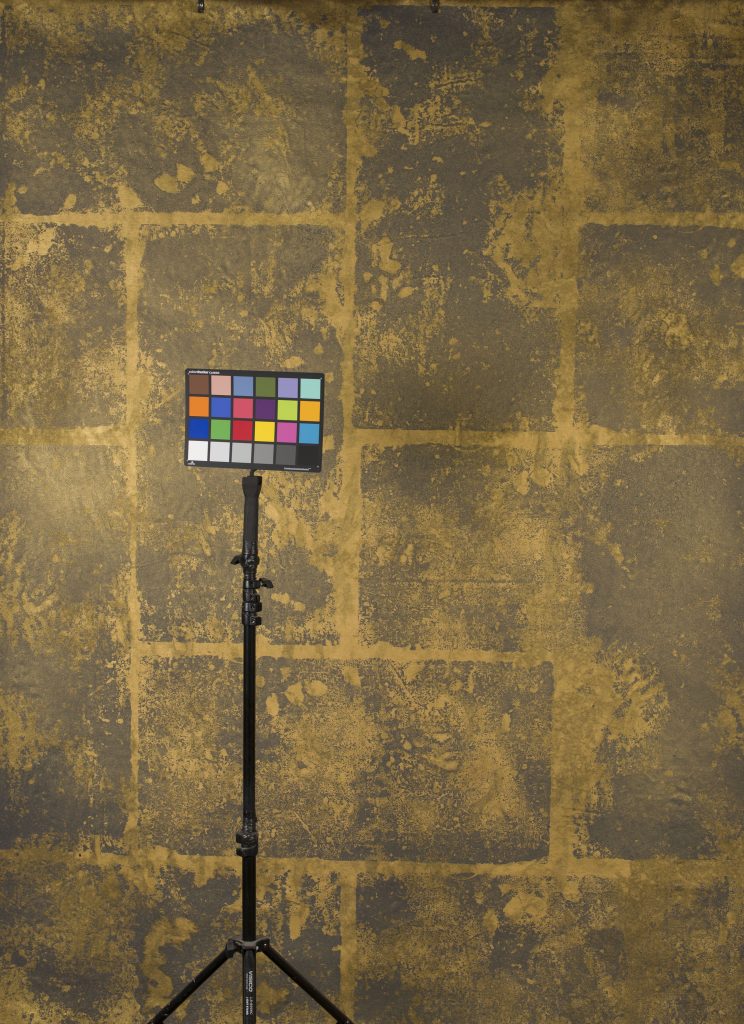
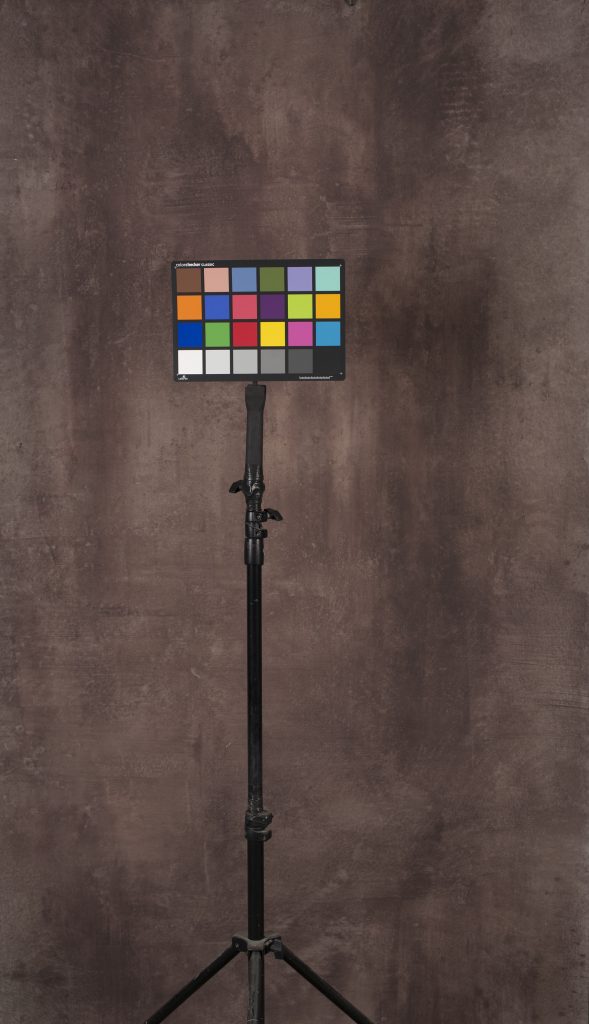
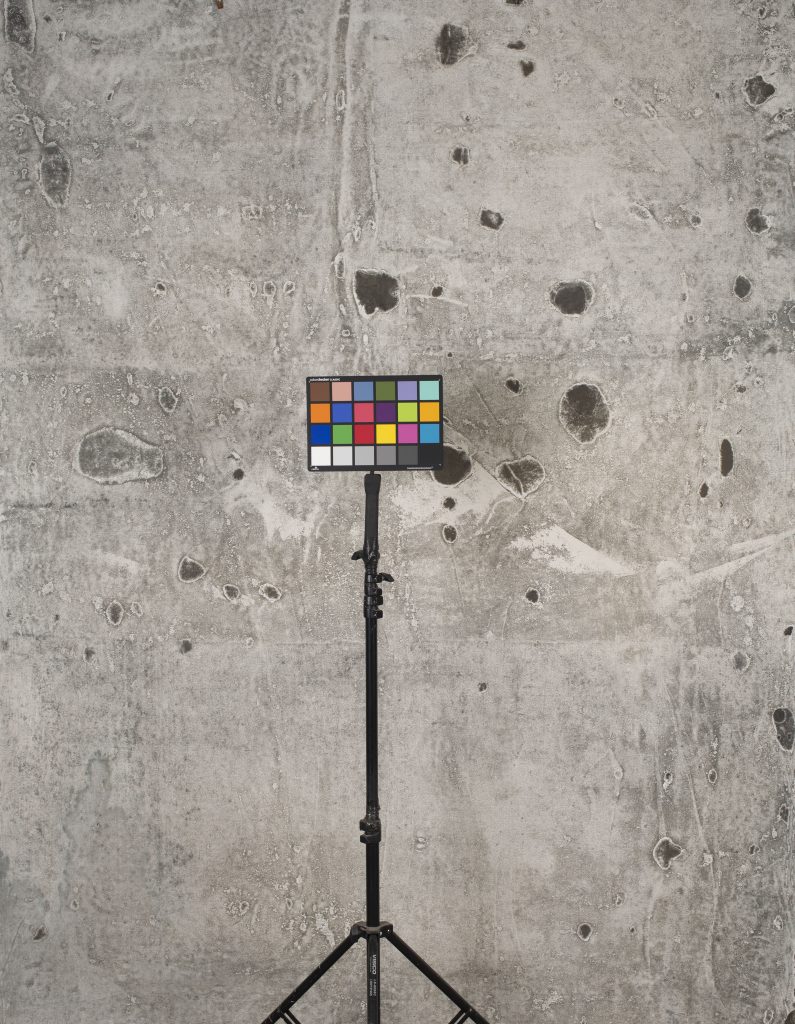
For more expressive visuals, textured and abstract backdrops add dimension and style. These are popular in editorial, fashion, and creative branding sessions.
Instead of flat color, subtle patterns and visual movement give your shots a handcrafted quality.
Artistic texture brings emotional tone into the frame, especially when paired with thoughtful lighting.
Printed or patterned backdrops support thematic shoots. Holiday sessions, children’s portraits, or brand campaigns benefit from backdrops that convey story or occasion.
For lifestyle-focused backdrop photoshoot setups, printed interiors, seasonal prints, or stylized scenes create an immersive look without the need for full set design.
Green screens belong in virtual production and video-focused work. They allow for digital background replacement, offering flexibility for post-editing.
View this post on Instagram
Custom designs serve when no existing solution fits the vision. If your client has specific brand elements like colors, logos, or slogans, custom prints keep the session aligned with visual standards.
Every backdrop photo studio should include styles that match its core audience. Choose based on your professional niche..
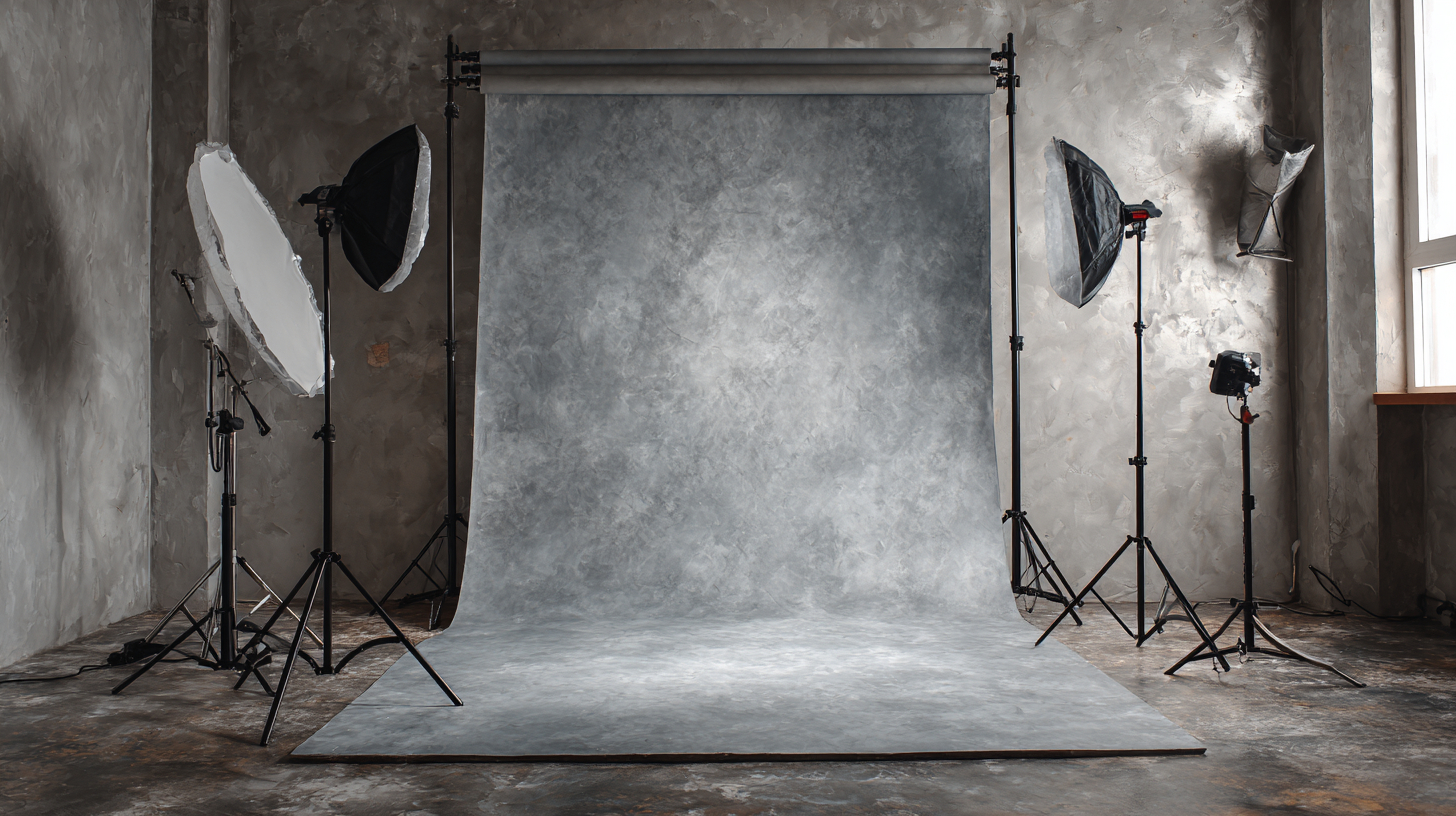
Step #5: Evaluate Mounting and Setup Requirements
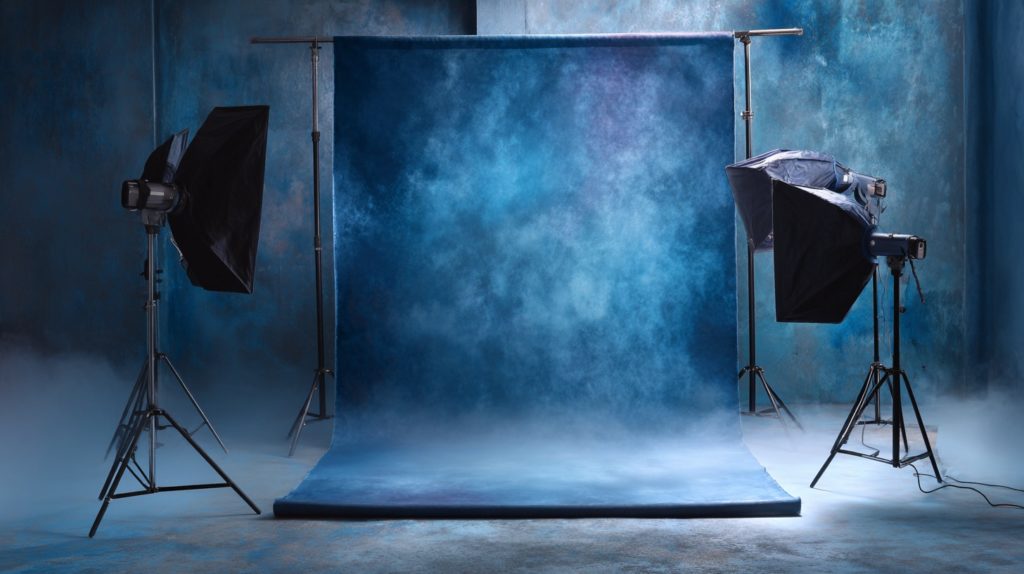
A perfect studio backdrop means little without secure, stable mounting. An elegant fabric or print loses its value the moment it slumps, wrinkles, or shifts during shooting.
Setup logistics often get overlooked, but they directly affect shooting speed, session flow, and professionalism. Before committing to any backdrop, consider how it will be mounted, moved, and maintained across sessions.
Wall hooks offer a simple solution for fixed setups, especially in small studios using lightweight materials like seamless paper or muslin. They don’t consume floor space and provide a fast, out-of-the-way method for mounting.
However, they require permanent wall modifications and aren’t suited for quick backdrop changes.
Banner stands and X-frames are portable and often used in events or mobile sessions. These lightweight supports can be assembled quickly and fit in transport bags.
They’re commonly paired with vinyl prints or smaller backdrop size setups. While great for mobility, they lack the rigidity needed for heavier materials or large groups.
Backdrop support systems with crossbars and adjustable stands offer the most flexibility in a backdrop photo studio.
They handle a wide range of sizes and materials, adapt to ceiling height, and support seamless paper rolls, canvas, vinyl, or muslin. Investing in one quality stand pays off quickly if you work with different styles or setups.
Support gear and add-ons also play a role in stability:
| Accessory | Function | Best Use |
|---|---|---|
| Clamps | Hold backdrop edges tight | Eliminate sagging or curling during setup |
| Sandbags | Anchor and stabilize stands | Prevent tipping during movement or airflow |
| Clips | Attach and manage extra fabric | Maintain folds or fix wrinkles mid-shoot |
| Storage Bags and Tubes | Protect and organize backdrops | Prevent creases during travel or storage |
| Backdrop Roller Systems | Enable smooth backdrop changes | Fixed studio spaces with multi-scene needs |
| Backdrop Pulley Systems | Raise or lower backdrops easily | Ceiling or wall-mounted setups with frequent changes |
| Tension Rods | Hold fabric across tight areas | Small rooms, travel setups, or doorframe mounting |
| Gaffer Tape | Secure and conceal edges or seams | Quick fixes or fine-tuning backdrop alignment |
| Backdrop Transport Cases | Protect during transport | Rolled vinyl, paper, or canvas backdrops on the move |
| Anti-Wrinkle Sprays or Steamers | Smoothen fabric surfaces | Refresh muslin or microfiber before a shoot |
| Label Tags or Color Codes | Identify and sort backdrops | Fast retrieval by size, color, or session type |
| Lighting Flags and Reflectors | Control and redirect lighting | Enhance subject separation and light spill control |
Don’t forget to factor in time for setup and breakdown. Sessions run smoother when you aren’t troubleshooting tangled bars or balancing unsupported rolls.
Efficient mounting turns a chaotic shoot into a smooth, repeatable workflow.
Step #6: Prioritize Durability and Maintenance
Durability matters when you’re working back-to-back shoots, changing setups frequently, or relying on consistent quality across different clients.
Maintenance matters just as much. A worn, wrinkled, or stained backdrop reflects poorly on your studio’s professionalism.
Vinyl excels in resilience. It’s perfect for messy shoots, kids, pets, food, or beauty products, where splashes and contact are expected. A simple wipe restores it to usable condition. It doesn’t fold well, though, and should always be stored rolled.
Microfiber is a solid middle ground for print quality and practicality.
It can handle detailed visuals and washes easily in a standard machine. It resists wrinkles and doesn’t require steaming, making it ideal for photographers who shoot on location or store materials often.
Muslin provides a natural, soft texture and is extremely easy to fold, store, and clean. It’s washable and light but can wrinkle if stored poorly. Proper folding or hanging after each use extends its lifespan.
Seamless paper, while crisp and perfect for clean portrait backdrop work, has the lowest durability. It’s not water-resistant, and damaged sections must be cut and discarded. It serves best in controlled environments with minimal foot traffic.
When handled properly, it lasts for years and provides unmatched texture for high-end backdrop photoshoot sessions.
To simplify maintenance of your backdrops, implement these habits:
- Store backdrops in labeled tubes or dedicated bags to avoid dirt, dust, or damage
- Use clamps and clips to prevent drooping or bunching during sessions
- Keep a lint roller and steamer nearby for quick touch-ups
- Avoid stepping on backdrops with shoes unless they are floor-dedicated mats
Step #7: Balance Budget with Professional Value
Many photographers waste money on trendy prints, poorly sized materials, or fragile stands that break after a few uses.
The key is thinking long-term and recognizing which elements deliver the most consistent results across different clients and session types.
Start by investing in versatile backdrop size options. An 8×10 or 10×10 backdrop covers most portrait and branding needs. These dimensions work well for individuals, couples, or tight group shots, offering flexibility with little editing required.
Underestimating size is a mistake. Fixing a short backdrop digitally takes more time than cropping a larger one in post.
Prioritize materials that align with your style and session volume. If you shoot food or children often, invest in one solid vinyl design.
If branding or seasonal work dominates your calendar, custom microfiber prints may offer a better return.
Don’t overload your shelves with rarely-used colors or niche designs.
Support systems are just as important. Lightweight stands are cheaper, but sturdy, adjustable systems support a broader range of backdrop photography and reduce mid-shoot frustrations.
A solid stand prevents distractions and ensures your background stays clean and in place.
Build your starter kit with intention:
- One seamless neutral backdrop for corporate and clean portrait backdrop work
- One bold or printed design for lifestyle or seasonal sessions
- One quality support system with crossbars and clamps
- Labeling and storage gear to protect materials between sessions
Avoid rushing into multi-color kits or backdrops that look exciting but serve limited use. Select pieces that serve multiple creative goals.
A single high-quality studio backdrop used consistently brings more value than five poorly stored or seldom-used rolls.
The Bottom Line
A thoughtful studio backdrop selection process saves time, improves results, and elevates your visual work.
Through balancing purpose, material, size, and budget, photographers build a more versatile and professional backdrop photo studio.
Every session becomes easier to plan and more satisfying to shoot when every element works together.
Let the right backdrop become the foundation of your best images.
